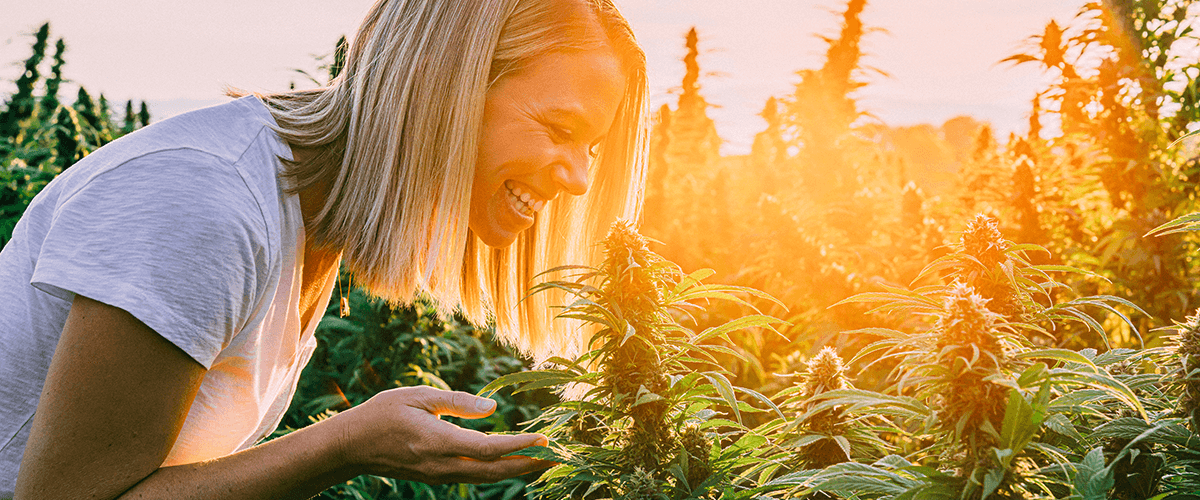
Harvest time is the pinnacle of every grower's efforts. Cultivating cannabis is a fantastic hobby, but we would be lying if we said that we do it for the love of botanology. Like it or not, it's all about that sweet, sweet bud!
However, things are a bit more complicated than just harvesting weed and smoking it immediately after.
In fact, harvesting is just the first step into the final -and most challenging- part of growing: drying and curing your weed correctly. Read on to learn more about why these two steps are necessary for a fantastic cannabis experience and how you can do them correctly.
How do you know when it's time to harvest cannabis?
Several classic changes signal that your cannabis plants are ready to harvest, such as:
- The large leaves start turning yellow and falling off.
- Bud growth tapers off.
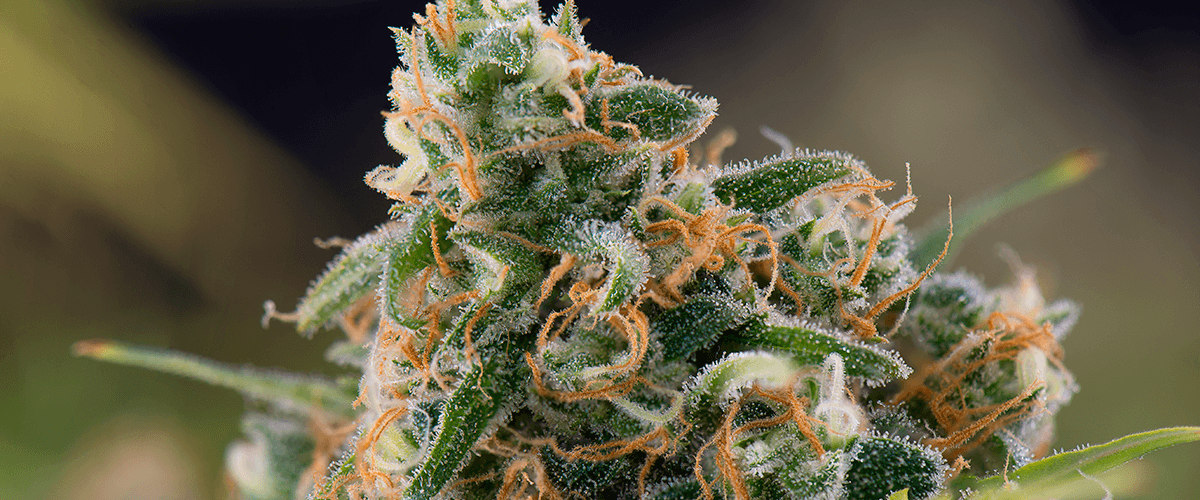
- The hairlike pistils of the buds start to turn from white to brown. Begin harvesting when a little over half of your bud pistils have darkened.
- Trichomes turn from clear to cloudy. When they begin turning an amber color, it's time to start harvesting. You can check this by looking at the resin with a high-powered magnifying glass.
After you notice these changes, you will have a window of about two weeks to harvest your buds for peak cannabinoid content.
Why do you need to dry and cure cannabis
To maximize potency and flavor, cannabis buds need to be dried and cured correctly. Drying and curing breaks down the chlorophyll in the plants, which eliminates the "freshly cut grass" smell of recently harvested cannabis. Properly drying and curing cannabis also maximizes the potency of cannabinoids like THC and CBD.
Mold remains one of the biggest enemies of a cannabis grower. Properly drying and curing cannabis buds reduces the chances of mold or bacteria contamination, which can ruin your whole harvest.
Tools for harvesting, drying and curing Cannabis
Some items that you will need to harvest, dry and cure your buds include:
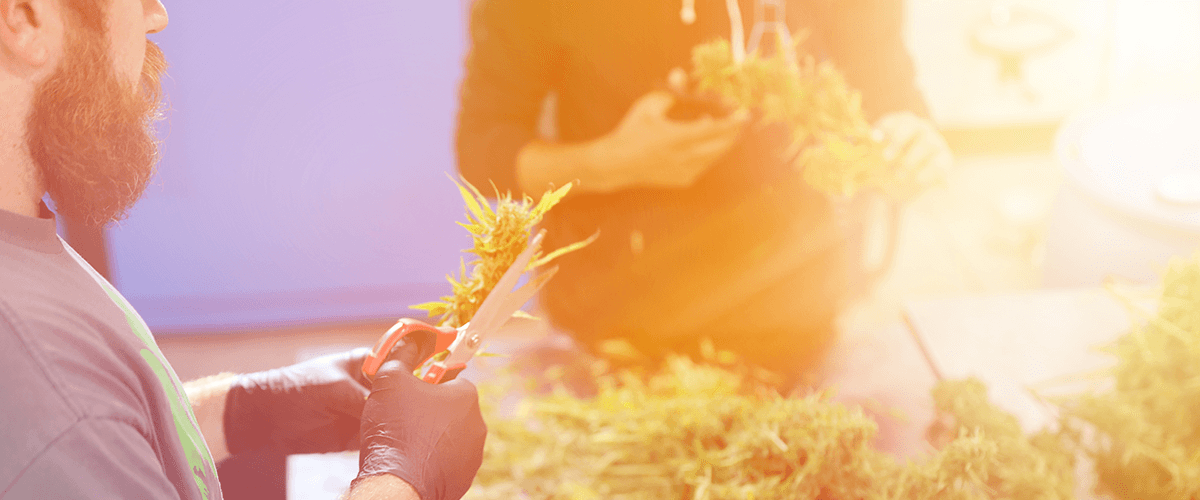
- Sharp trimming scissors and pruning shears.
- A length of string.
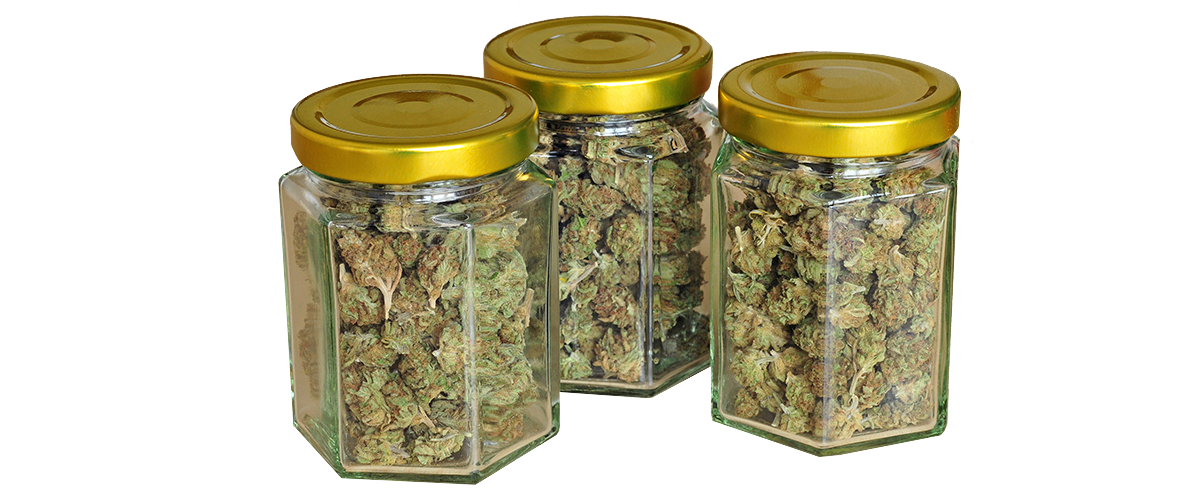
- Wide-mouthed glass jars or stainless steel containers. Mason jars work great for this purpose. Alternatively, you can use sterilized and recycled pickle or pasta sauce jars. Growing supply stores also sell stainless steel containers explicitly made for curing herb.
- Drying racks (optional). Drying weed in smaller chunks on racks is the best method for extremely humid environments.
- Desiccants (optional). Desiccants also come in handy when drying buds in humid environments.
- Hygrometer (optional). This device measures the amount of humidity in your containers during the curing process.
Harvesting and drying cannabis plants
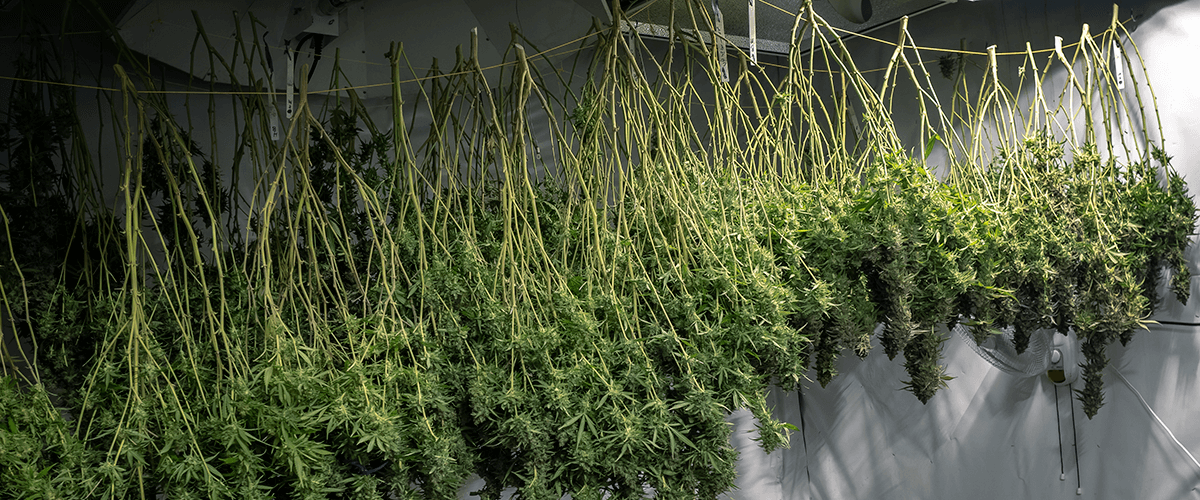
A temperature of around 70F (21C) and approximately 50 percent humidity provides ideal drying conditions for cannabis. Cultivators usually either hang buds upside down to dry or use a drying rack.
Drying buds upside down involves a few simple steps:
- Cut down the plants. Some growers prefer to pull out the entire root ball and hang the plant upside down to dry. This practice works well in hot, desert-like climates where your buds are in danger of drying too quickly. Under more temperate conditions, it is better to clip your plant into smaller branches to guard against mold formation.
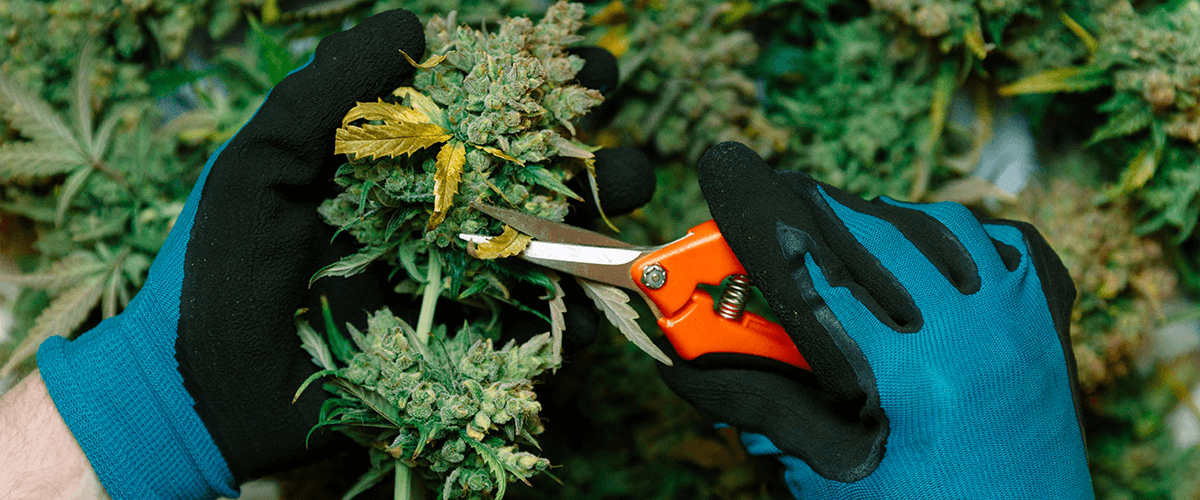
- Remove large leaves. It's essential to trim excess leafy portions of buds to smooth the flavor. You can dry large shade leaves separately and use them for edibles and tinctures. Making cannabis butter is a good use for leaves.
- Trim fan leaves. Fan leaves are the larger leaves that protrude from the buds themselves. The amount that you choose to trim at this stage depends on personal preference. For humid climates, it's best to trim as much excess leaf as you can to prevent mold and bacteria from growing.
- Take your buds down. Your bud branches are ready to come down when the smaller stems snap off easily. The larger stems should still be bendable. This signals the optimum humidity content for curing.
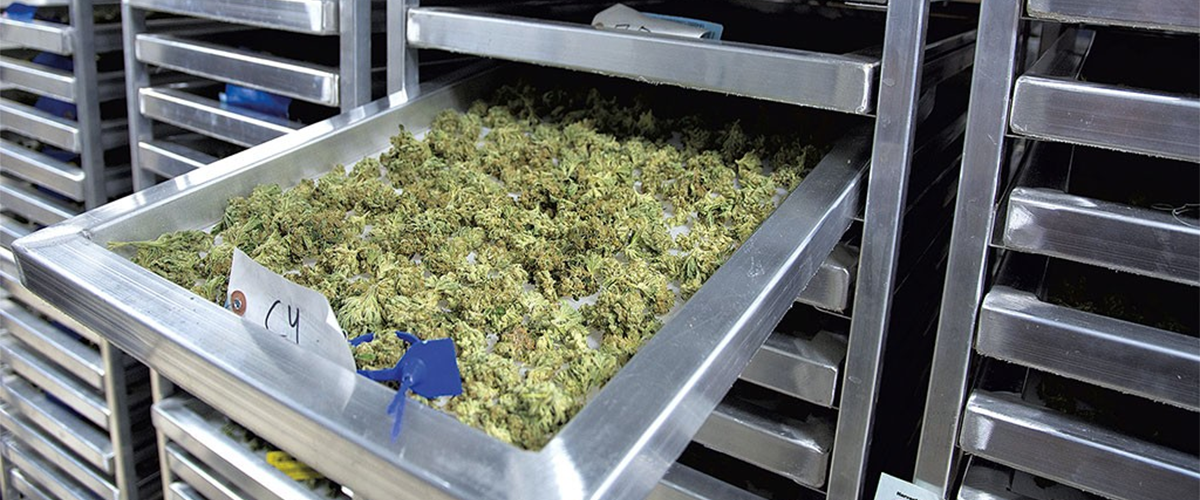
Drying racks
Racks are perfect for drying cannabis in humid climates. Using drying racks under normal or arid conditions can lead to over-drying your buds. Overdried buds won't be able to go through a proper curing cycle and will have a harsh flavor.
You can buy racks explicitly made for drying herbs from growing supply stores. Some growers take down a few screens from the windows of their home for this purpose. You will only need to use them for about a week. You can also quickly fabricate DIY drying racks by inserting pieces of screen mesh into embroidery hoops. Use your imagination with items that you find around the house. You would be surprised at what you can come up with when you're motivated to get your buds ready to enjoy.
Dry your buds on racks in just a few simple steps:
- Cut down your plant. You will want to cut your buds off in smaller pieces for the drying rack method.
- Remove leaves. It's essential to move as much excess foliage as possible before placing buds on drying racks. Too much leaf matter promotes mold growth.
- Cut buds into smaller chunks. For best drying in high humidity, you will need to cut your buds into smaller chunks before placing them on the racks. This might seem like a lot of work now, but it will also save you time in the manicuring stage.
- Check buds often. Monitor your buds closely to prevent over-drying and don't forget to turn the buds over once in a while.
- Place buds in jars for curing. Dried buds should still be slightly moist in the center before you put them in curing containers.
More tips for drying cannabis buds
- Keep the air flowing around your drying buds at all times. However, you should not point a fan directly at your cannabis, or you will risk over-drying your buds. Instead, use an oscillating fan, or point a static fan at a nearby wall.
- Avoid touching the actual flowers as much as possible. Bud resin will stick to your fingers and lower cannabinoid and terpene content in your final product.
- Never attempt to rush the drying process by applying heat. Heat can burn the cannabinoids and terpenes contained in the trichomes. Oven-dried buds lose much of their potency and fragrant flavor.
- Check your drying buds frequently to avoid over-drying.
Curing cannabis
Curing cannabis works best around the same temperature for drying, but buds can tolerate a slightly higher humidity level for this step in the process. The best conditions are around 60 percent humidity.
- Place dried buds in curing containers. You should store your buds in jars or steel containers as soon as they are dry to the touch.
- Add a desiccant package to soak up excess moisture and prevent the growth of mold or bacteria.
- Seal jars tightly, and store the containers in a dry, cool, and dark place for about three weeks.
Once your cannabis cures, your buds can be manicured to your liking. Excess leaf in your buds will make them taste harsh. On the other hand, too much handling can rub off resin and trichomes.
Like any maiden voyage, harvesting, drying and curing might be a bit nerve-wracking if you're doing it for the first time. Gardening blends both science and art. After a few harvests, you will be able to consistently dry and cure potent, tasty buds that will make you proud.